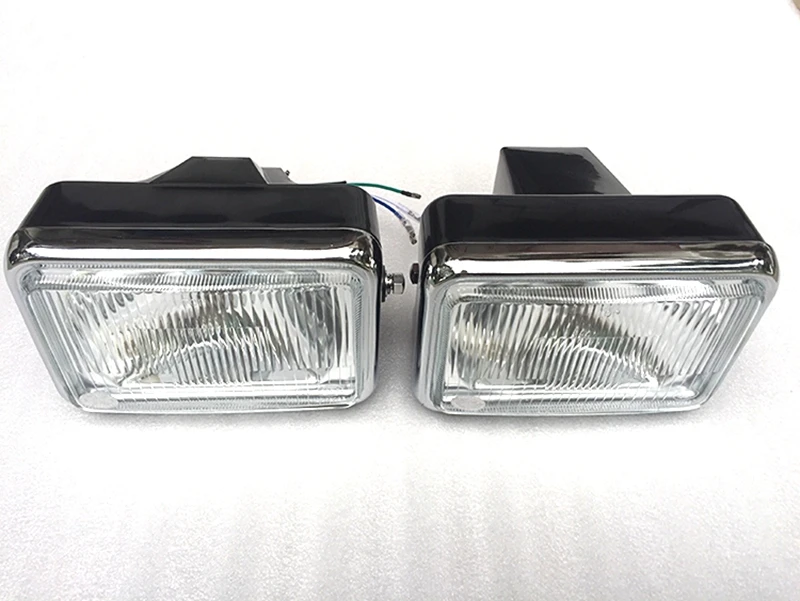
It is worse than running at night when one of your headlights has stopped working. A bulb has burned out, or the lens, reflector, or even the lamp’s complete housing has been damaged by a little accident.
Aside from the obvious danger, there’s also the risk of a fine from a sharp-eyed cop and an hourly rate hike from a repair business.
On the other hand, repairing a damaged headlight and headlight assembly can save you money and give you an immense sense of accomplishment suggested by experts at SuncentAuto.
Fortunately, changing a headlight is usually simple. Most halogen high-intensity discharge (HID) or light-emitting-diode (LED) bulbs are now simple to replace.
They’re held in place with thin wire clips or rotating bayonet-style retainers. Then, they may be slid out from under the headlight housing, unplugged from the wiring, and replaced with a working bulb in seconds.
However, before you can replace a headlight, you must first figure out what kind of bulb you need. The first place to search is the owner’s manual.
Extracting a Bulb:
The headlight bulb is generally accessible by opening the hood and removing the lamp connections at the back of the headlight housing.
Few cars may have small hinged or rotating panels inside the front tire wells that provide additional service room.
To obtain full access before changing a headlight on a few more problematic models, you may need to remove separate splash shields, air-cleaner housings, and even washer-fluid bottles.

Experts recommend carrying a flashlight, a flat-bladed screwdriver, a small box of sockets, needle-nose pliers on hand and a pair of mechanic’s (or latex) gloves.
Old-school sealed beam headlamps are unusual and bulkier, but they are relatively straightforward to replace.
A thin metal ring is frequently put into the lamp’s shell assembly to keep them in place. The screws on the retaining ring are simple to loosen from the front of the car.
Other bright front-end trim, however, may need to be removed first. Under the hood, a harness plug glides on and off the copper terminals of the lamp.
Point to Remember:
When changing a headlight, it’s vital not to touch the new bulb’s glass, as contamination from your skin’s natural oil and even little amounts of debris can cause premature failure.
Use dielectric grease for a weather-resistant connection on all light plugs and terminals. Also, don’t mix headlamp-beam adjustment screws with usually smaller retention screws.

